
 This past Christmas, I was gifted a set of Russian pipping tips. Not really knowing how to use them, aside from the obvious ‘you put them in a pipping bag and pipe’, or the magic they would eventually produce, I took to Google. What I retrieved was nothing short of amazing; 3D icing creations! It looked almost too easy and too good to be true [which was the case].
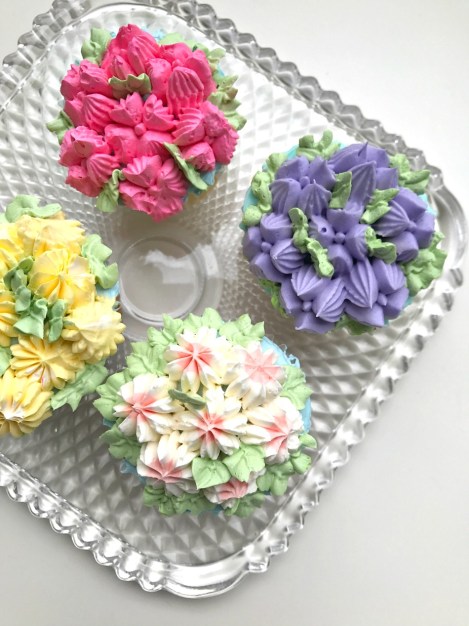
I originally wasn’t planning on posting about these cupcakes, but they came out too cute; so here’s a quick, show + tell, of my first go with my Russian pipping tips.
After testing these tips out for the first time, I can conclude that the adage “practice makes perfect” is highly relevant in all matters of Russian pipping tips. My first batch wasn’t so bad but it definitely required several trial and error attempts when it came to applying proper pipping bag pressure. If you’re familiar with playing the piano….it was a specific combination of a decrescendo with a graceful staccato lift at the end [if you’re not: squeeze hard, gradually lighten up, and then lift]
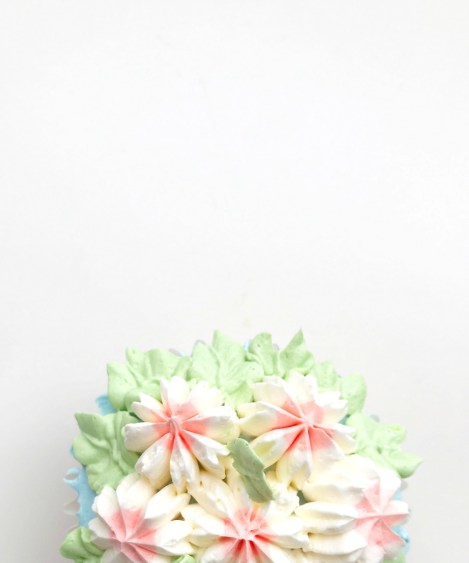
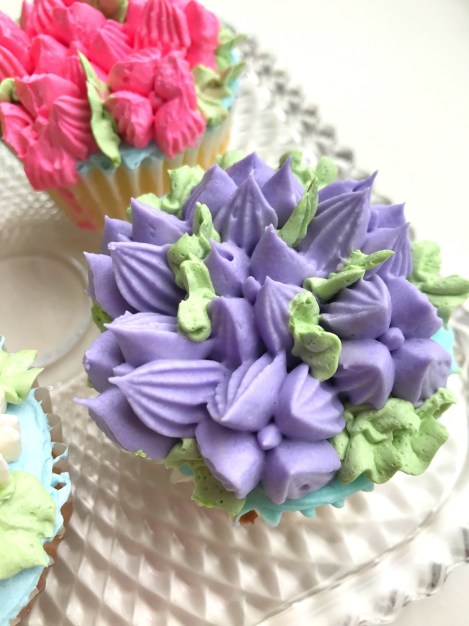
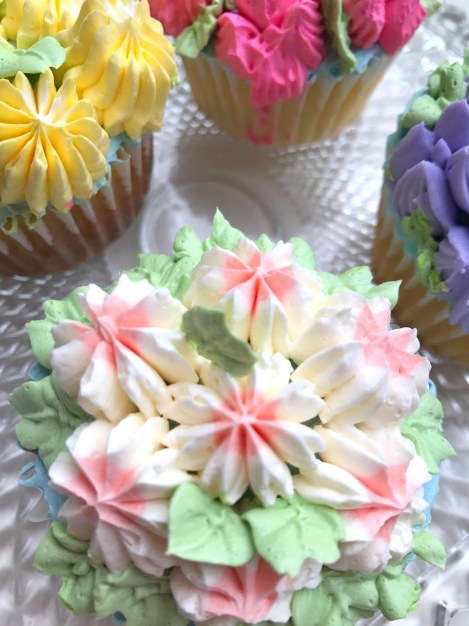
Icing viscosity was another factor to consider, I used a chilled swiss meringue [the white + pink + yellow flowers] and a cream cheese icing [purple flowers]. Between the 2, the cream cheese icing delivered easier and more detailed flower edges as it was thicker in consistency. However, swiss meringue icing used quickly from the fridge also delivered crisp results.


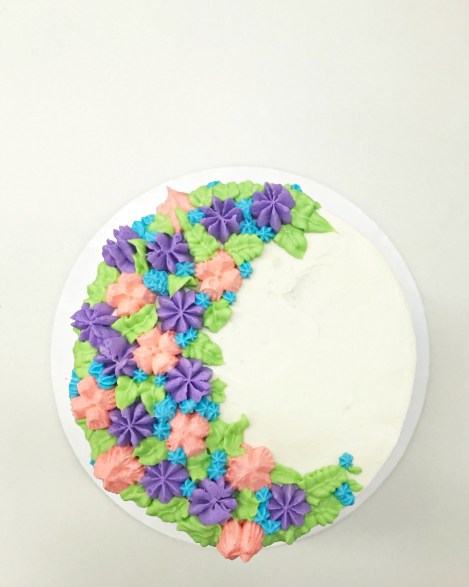 Shorty after making theses cupcakes, I baked + decorated a cake for a friend. I couldn’t achieve the correct consistency with a new swiss meringue recipe I was trying out and ended up with some floral blobs [pink flowers]. However, I think, the cake was still a success.
Though a little more fussy than your standard pipping tips, I am happy to add these guys to my decorating arsenal.
Now, to practice ’til perfect!


AMAZING!! You have talent girl!! xx
AMAZING!! You have talent girl xx