

P R O G R E S S R E P O R T
c o m p l e t e d
–weeks 1 to 2: fibreglass cast + crutches | non weight bearing
–weeks 3 to 6: air cast + crutches knee scooter | non weight bearing
c u r r e n t l y
-week 6: ween my leg out of my boot + transitioning back to crutches | weight bearing!!! Went for my 6wk check-up and got the green light to start standing and work toward walking!
Prior to this injury I was a gal on the go; from work to fitness classes, to making dinner, to spending my last waking hours hanging with Mike catching up TV shows. I never took a second to just sit. There was always somewhere to be or a million thoughts in my brain of things to do. Fortunately, with my injury, I was afforded an abundance of sitting time. I sat and read, sat and watched TV, sat and looked out the window, and most recently sat and processed turning 30.
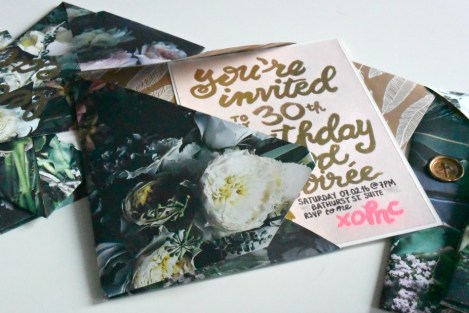
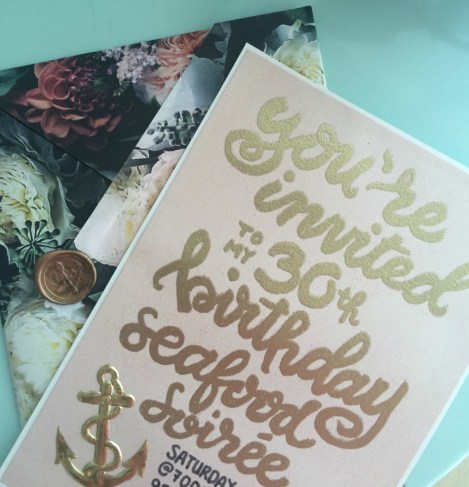
 I’ve decided that I’m leaving my 20’s in classic Madelaine style; throwing a feast + stuffing my face. This year’s celebration will involve seafood and lots of it! To set the tone for this seafood soirée, I spent some sitting time crafting invites – basically an excuse to buy pretty papers and test new art supplies + techniques.
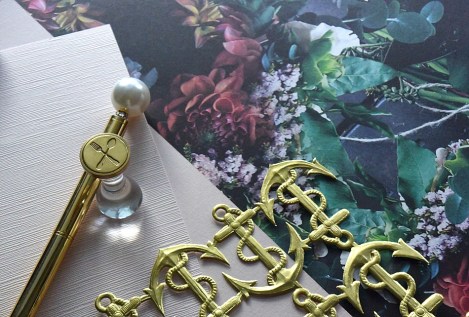 I hit up the Paper Place on Queen St. West and picked up a couple things that I found pretty [including a beautiful dbl sided floral paper, a food related wax seal, light pink linen textured paper, and hand pressed nautical Dresden die cuts]. I wasn’t too sure how it would all fit together or how it related to a seafood dinner, but I was determined to make the pieces work.

 As I follow a ton of calligraphy and lettering accounts on Instagram, my feed as of late has been inundated with heat embossing vids. I became obsessed and needed to try it out for myself [what better place to test it out than on my bday invites?!]. So naturally, in addition to my paper store haul, I placed an Amazon order for all the embossing essentials-a slow drying ink marker, coloured embossing powder, and a handheld craft dryer [for more details on this lettering technique I suggest youtube-ing + googling “heat embossing” or checking out lettering Instagram accounts].
 Though the lettering + embossing were time consuming, once the invites were created, the paper envelope wrappers were pretty simple.
For this specific invite I used the following
-13.5cm x 19.5cm pink linen paper
-white card stock cut to form a narrow border around the pink paper
-white glue
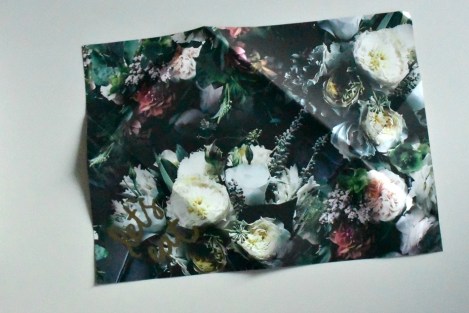
-25cm x 34.5 printed wrapping paper
-wax + seal
 Once you’ve created +decorated + glued together your invites, use each as a template to form and size your paper envelopes
lay your printed paper face side down
with a pencil, lightly mark 13cm + 17cm in fr the right-hand side
lay your invite on the sheet with its bottom right corner at the 17 mark and its top left corner at the 13 mark
with your invite placed, fold around it along the highlighted green lines in the order labeled above [being sure to align + fold along the straight edges]

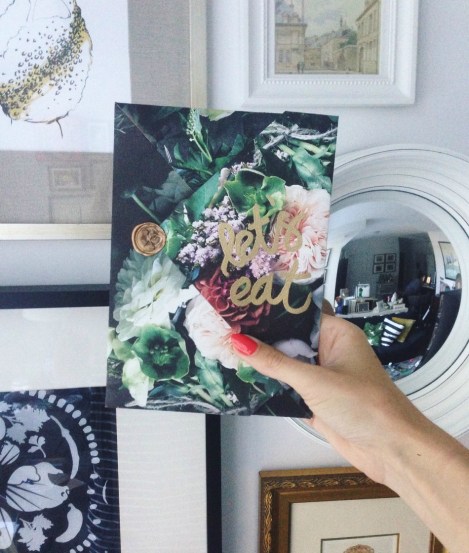
 embellish the front of the closing flap [5] with whatever you like
and lastly, to secure the invite closed, fasten with wax + a seal
 handmade + signed + sealed + delivered to their recipients!
 [snapped by Jessica]
 [snapped by Maddy]
 [snapped by Shereen]
Stay tuned for more party details.

*floral paper by Bespoke Letterpress & Stationary
