
 The holidays are paved with dreams of DIY grandeur and once upon a time, it was all doable. This Christmas, my list of to-do’s is a lot smaller compared to years of past and even with my pre-season edit, I’m cutting it close. Currently, I am writing this blog post with my tree still in its box as my anxiety quietly builds with each passing hour; I usually have my tree up in November! I suppose this is all part of the mom life – your super hero powers sometimes have limits and time usually your kryptonite.
With this Christmas being Atlas’ first and our first as a family of 3, naturally, I wanted to do EVERYTHING. However, with my free time reduced to a fraction of what it was last December, ‘everything’ was feeling like quite the mission. Though you only get one shot at your first,I had to remind myself that memories are not just moments of things, but largely also feelings and that are made whether we DIY or not. So, aside from our tree, stockings, and holiday decor, I chose 1 new project to add to our Christmas traditions; Atlas got an advent calendar.
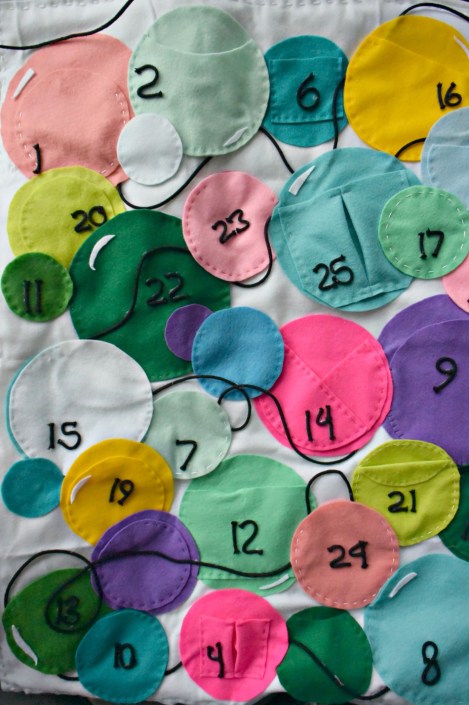
After Halloween, I decided that felt was my new project fabric of choice; easy to work with and pairs well with a glue gun. Armed with a stack of felt, thread, and a glue gun, I created a Christmas bauble advent calendar. For this project I didn’t do much measuring, did minimal planning, and created as I went. I am aware that sharing this DIY 3 days into December is a little late, but perhaps it will serve as inspiration for someone come Christmas 2019. Planning ahead is always a good thing and when it came to this project, I wish I did just that instead of crunch time work sessions with a completion date of November 30th. Though, the project was up and running by December 1st and in advent calendar world, that’s all that matters.
S U P P L I E S
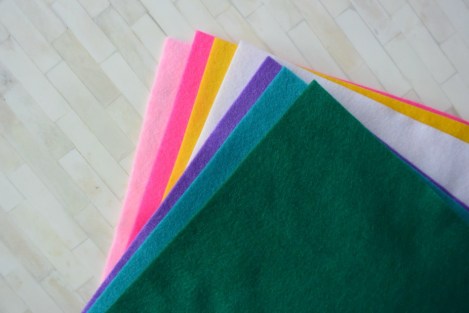
- 2 Large sheets of white felt
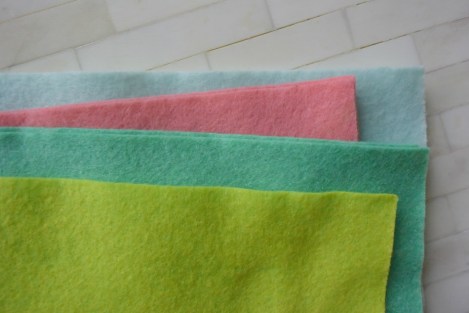
- Multiple sheets of coloured felt -enough to create 30 double sided circles of various sizes]
- 1 sheet of thin quilt batting -the same size as your desired finished project
- Low heat glue gun + a lot of glue sticks
- Fabric + paper scissors
- Needle + tread -to match/contrast with your felt
- White yarn
- Old paper shopping bags
- Pencil
- Wooden dowel(s)
- Velcro sticker circles [found my pack at the dollar store!]
- Straight pins
P L A N N I N G
Start by selecting your circle sizes of choice. I scoured my living room for vases and coasters to act as circle tracers. I decided on 4 main circle sizes for my baubles
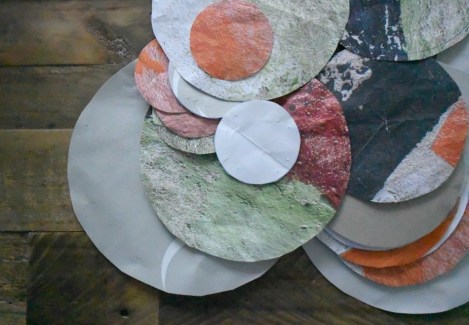
Next, trace + cut out your circles from the paper shopping bags. These will act as your patterns/templates.
Once you have cut out your assortment of about 30 paper circles, set aside 25 that you would like to transform into pockets. The remainder will act as decorative filler
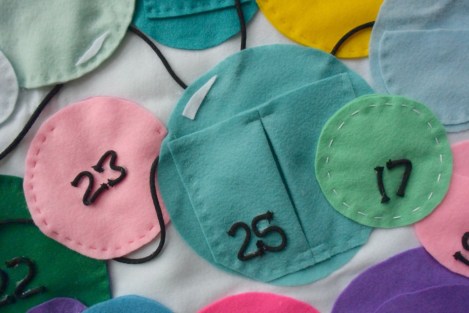
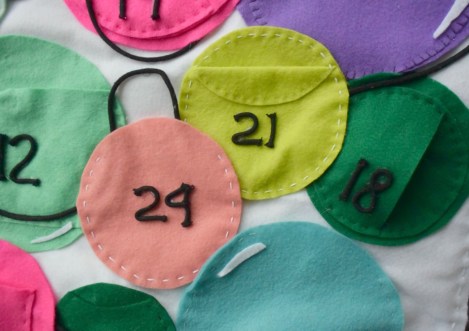
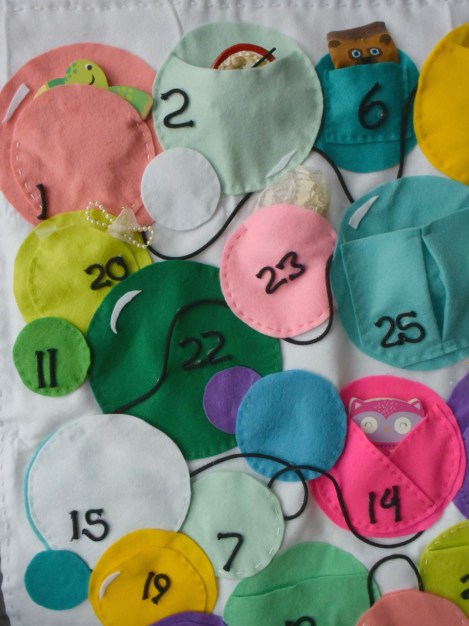
Here’s where you get creative. Amongst the 25 circles, start to dream up the type of pocket applications you would like to incorporate. To accommodate gifts of varying sizes, I did a mix of circular and square patch pockets, flapped pockets, slit pockets, and pleated pockets.
A S S E M B L Y
With your paper patterns, start laying up and pinning them onto the felt sheets and cut out. These will serve as the base to each of your pockets
Based on your pocket plan, begin to cut the additional pocket pieces you will need and start assembling. As I mainly worked on this while Atlas slept and since I had many colours of thread to deal with, I found it easiest to use a hand stitch in the assembly process. However, if you want to avoid sewing all together, a glue gun works just fine too!
N O T E : I found the easiest of the pockets to create were the following
SQUARE PATCH POCKET – cut out a square piece of felt to sit a top your circular base and with a simple hand stitch [or glue gun], stitch down [glue] along the sides and bottom of the square.
ROUND POCKET – cut out a piece of felt the exact same size as your circular base and stitch [glue] along the perimeter of the circle attaching the 2 pieces yet leaving an opening along the top.
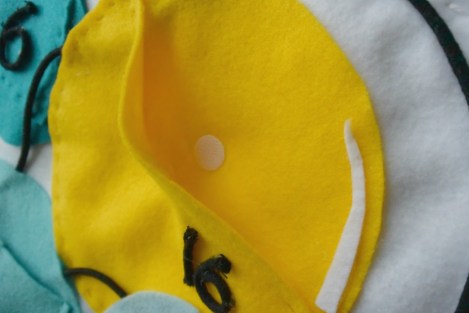
To finish off the pockets stick a piece velcro along the inside tops of your larger circles to help keep them closed.
T H E H A N G I N G P A R T
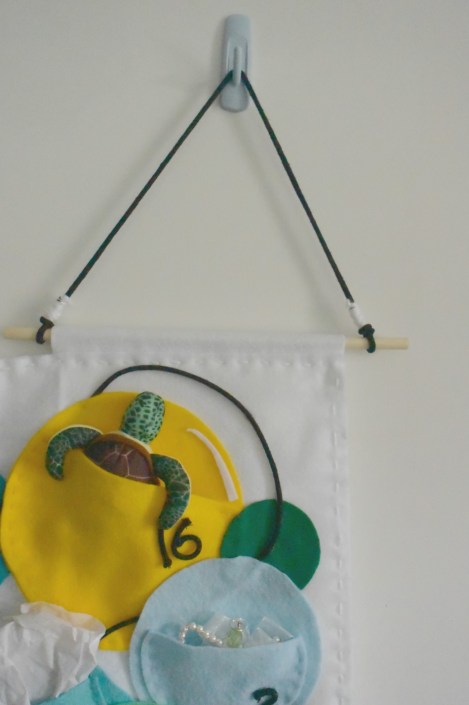
For this calendar, I used 2 shorter pieces of dowel [as that is what I had on hand]. To prep the “hanging” portion of this project, start by cutting out rectangular pieces of white felt that measures about 4″ wide and about 2″ shorter in length than your dowel. Fold the rectangles in half lengthwise and with a needle + thread or a glue gun, attache the bottom edges to each other creating a pocket to hold your dowel. Repeat for the other dowel.
Based on how low or high you want your calendar to sit, cut out 2 pieces of black cord [one for each dowel] long enough to accommodate this height and the knots on both ends that you will tie to create the loops to attach onto the dowel.
P U T T I N G I T A L L T O G E T H E R
Cut the 2 large white sheets of felt and batting to your desired project size -based on your wall space…or in my case, the size required to accommodate the circle pockets I made.
WHITE SHEET 1 – Your top piece!
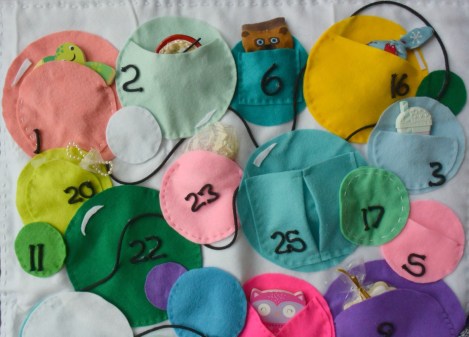
On this sheet start arranging your circles and once you’ve squeezed them all on and have decided on a layout, glue down [but not all the way, enough to hold the pieces in place] ensuring you accommodate for the pocket openings.
BATTING -To give your calendar extra support + structure
Glue the batting onto the back of SHEET 1. *Make sure to keep about a 2″ glue free border and long the edges as this will make attaching the final piece A LOT easier.
Take your felt surrounded dowel pieces and glue them to the top corner edges of your calendar. Add just enough glue to tack them down.
WHITE SHEET 2 – your back piece!
Glue this piece down onto your project sandwiching the batting and the bottom half of the dowel pockets. Once again, be sure to keep that 2″ glue free border.
F I N I S H I N G T O U C H E S
With white yarn, using an easy top stitch along the edges, sew together all layers [sheets 1 + 2, batting, and the dowel holding pieces] of the calendar.
Tie the black cord you previously cut onto the ends of each dowel
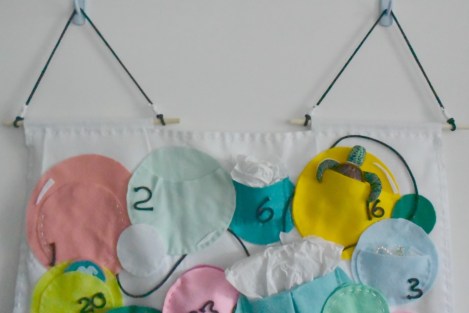
To create a “string of baubles” look, weave black cord around, under, and over the circles. Once complete, strategically glue down cord -to avoid visible glue globs, I stuck to the undersides of the circles.
Securely glue down all circle pockets
Lastly, with black cord and a glue gun, form the numbers of the advent calendar on each circle pocket.
Hang and fill with 25 days of surprises!
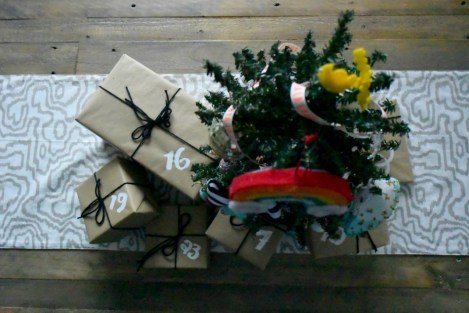
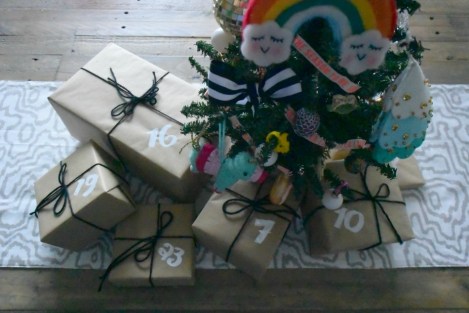
NOTE: For the larger surprises I wrapped them up and am currently using them as a holiday centre piece on our dining table along with Atlas’ mini Christmas tree.
I’m so excited to start this new holiday tradition with Atlas.
Happy December!!!


That’s a nice idea! I wanted to get creative with the advent calendar this year but didn’t make it in time… Ended up using white paper sandwich bags and decorating them with ribbons and stickers ;D
Thanks! I barely made it in time myself. I’m sure yours turned out just as nice. That was my plan B. 🙂